

Blog

Start with CMS
Click here to download a PDF copy of this article
Save it to read later, or share with a colleague
Here, we are going to guide you through the basics steps to set up your own Django CMS website. For the biginner, it sometimes takes lots of time just to set some stuff in Django, but Django CMS is so easy that it boosts the developing efficiency to establish a website. Furthermore, CMS provides high flexibility for the content updates in future.
What is CMS?
CMS is the abbreviation of Content Management System. In other words, CMS stands for the convenience to start up your website. There are several common CMS, such as Wordpress、Joomla. Django also support its own CMS – Django CMS.
After we finish a website project, actually we sometimes are contacted for the updates in the future, like the telephone information etc. To complete our service, we have no choice but to update the codes. However, it's quite inefficient for wesite developer. So to conserve time, we modify the way we build websites to make updating simple even for customer who has no experience in coding. CMS register each tag in template as an object which is allowed to be modified. With Django CMS, you can add blog articles, edit content, update photos and anything to elaborate and complete your website easily.
1. Install Django CMS
First, set a virtual environment for this project. (It's optional)
conda create –n “DjangoCMSTutorial” python=3.5
-n: is for the name of the virtual environment. You could define yours on your own.
The python version is 3.5, and let's start from activationg the environment.
activate DjangoCMSTutorial
2. install djangocms-installer
pip install djangocms-installer
3. To start your project, switch your path to the directory and type:
djangocms –f –p .mysite
It might take a while to set up a new project named mysite, and after finishing, type in the command
python manage.py runserver
Open your browser, and reach: localhost:8000
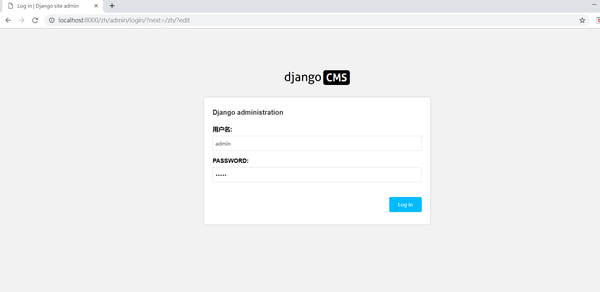
After typing "admin/admin", you could get into the page, which means that you succeed
Download template: You could get the templates on the internet, just depending on your preference. We recommend you the website, w3layout, where you couls download the template you like.
After choosing your template, click the button below, download template.

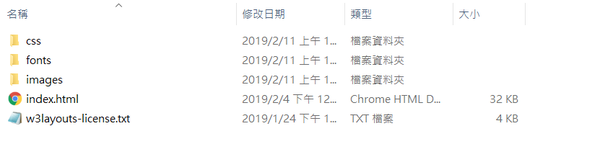
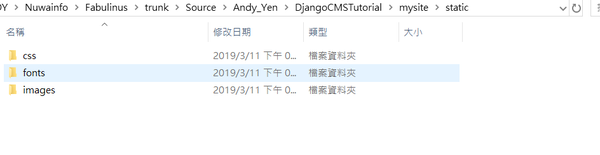
After downloading, you could see the files below. The file titled as 'index.html' is the main html, and the others are the repository of css , fonts, and image files.
Put the template you dowloaded in the CMS project folder.
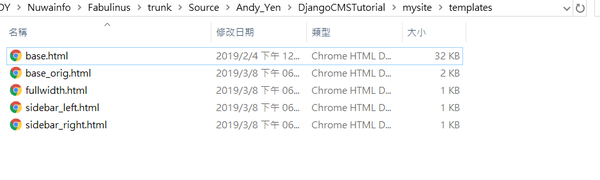
Fisrt, put your html files in the project.(In the example, the file is named index.html.) The path is /[your project name]/templates (In our case, the path should be /mysite/templates.)And rename the html file as "base.html".
At this moment, run the command:
python manage.py runserver
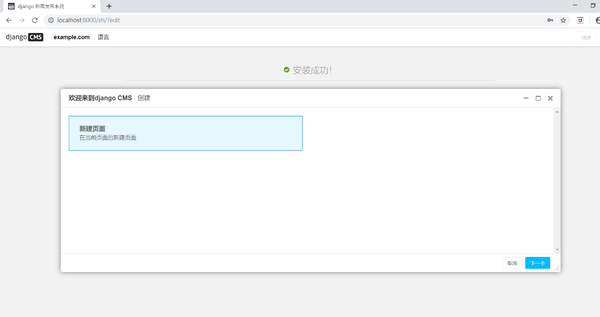
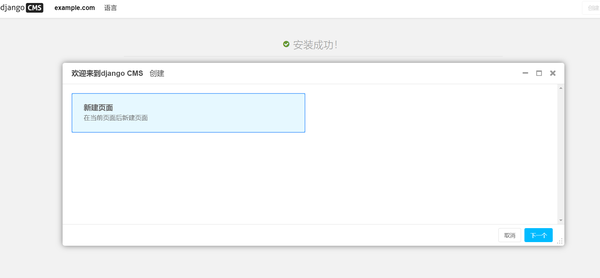
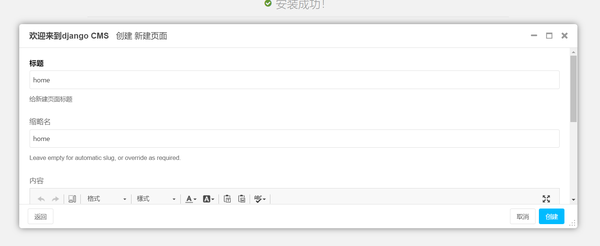
Surf on the browser with the url:127.0.0.1:8000. After logining, you will see the first scene that requires us to create the first page.
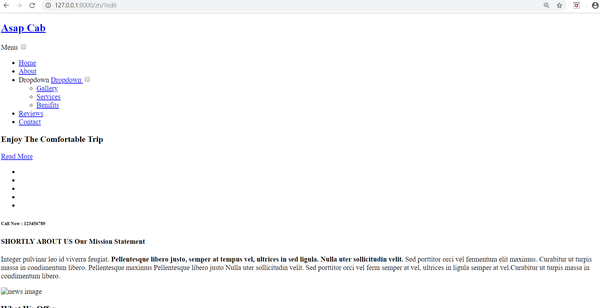
After setting the title, we can see the 'base.html' showing on the website. But there's still somthing left to do, that is loading the css and script files. So the inconsistant page outlook is simply temporary problem which would be solved in our next step.
Put the downloaded files, including css, fonts, images in theCMS project. The path should be /[your project name]/static/ (In our instance, the path is : /mysite/ static)
Later, we need to edit the html code
First of all, we need to load the required tags in out templates
{% load cms_tags menu_tags seikizai_tags staticfiles %}
Add the code below in the end <head> part, and in the begining of the <body>
            {% render_block “css” %}
		</head>
		<body>
			{% cms_toolbar %}
At the bottom of the <body>, add:/p>
	       {% render_block “js” %}
		</body>
		</html>
We can take a look at our page, you will find that it still remains the same, so we need to adjust the loading path of the static files.
<head>
<link rel="”stylesheet”" href="”css/bootstrap.css”">
</head>
{% static "css/bootstrap.css" %} It is the tag provided by Django to import the files. In our example, css/bootstrap.css is the path
As well as the image files, remember to apply the method to load static files.(ex: src="{% static 'image/ab.png' %}")
<head>
<link type="”stylesheet”" href="”{%" static="" “css="" bootstrap.css”="" %}”="">
</head>
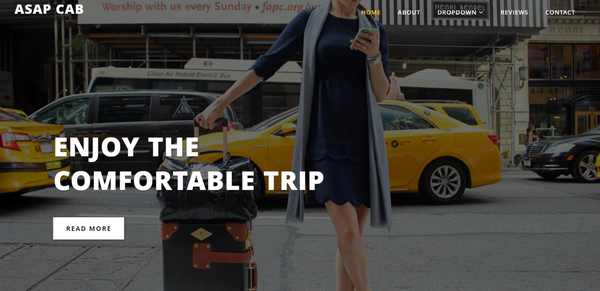
Now, back to the browser, and reload the page, you will see your perfect page!
Edit template in CMS structure mode
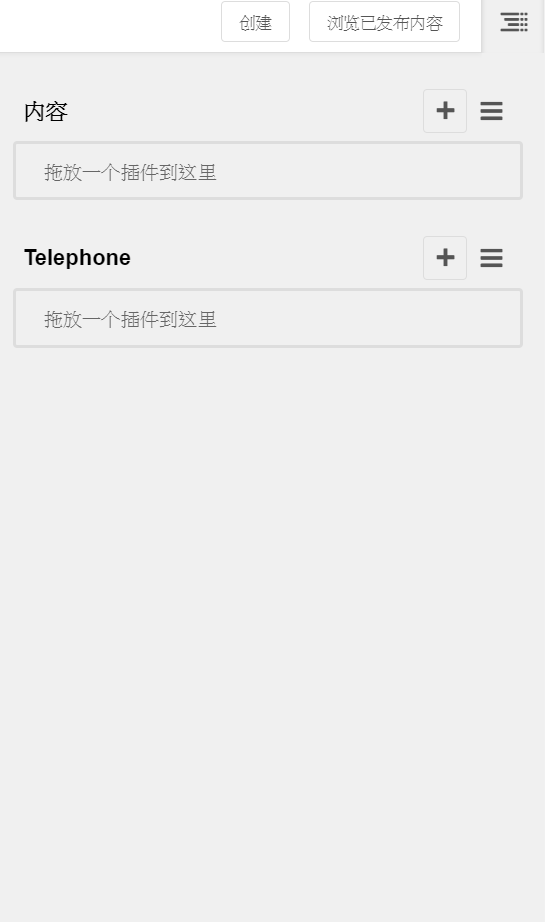
Add placeholder: Add the placeholder for the content which might need modification in the future. For example, the telephone number may require update someday.In this case, you could register a placeholder named 'telephone'.(The name of placeholder is decided on you, the name doesn't matter)
ex: <h4>{% placehoder 'telephone' %}</h4>
Back to the bowser, click on the button on the upper right to get into the structure mode, you could see the telephone placeholder.
Click on the icon + , we would find that Django CMS provide various plugins. To fit our need, we simply choose text as our telephone input type.
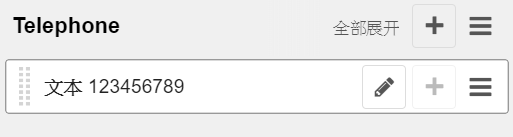
We can see the change immediately.
Through the functions we introduced, we can adjust the content easily and efficiently.
The last step is to publish the changes. Then we have accomplished the success!

By the tutorial, we can make a website, which is updated easily, by dowloading the templates and Django CMS.
Reference: https://www.design-hu.com/web-news/cms.html
https://www.rocknovels.com/blog-concept.html
Comment
There is no comment, you can make the first one!