

Blog

Customize your own blog template
Translated from: Django cms 教程八:设定文章页的格式
原载:蜗牛博客
网址:http://www.snailtoday.com
尊重版权,转载时务必以链接形式注明作者和原始出处及本声明。
1. Copy the codes
Use Notepad++ to open the index.html file installed before in the Clean Blog template documents.
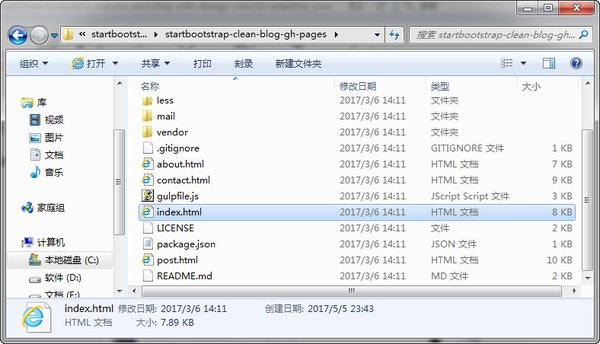
Find out the codes below.
And copy the codes.
2. Paste the codes
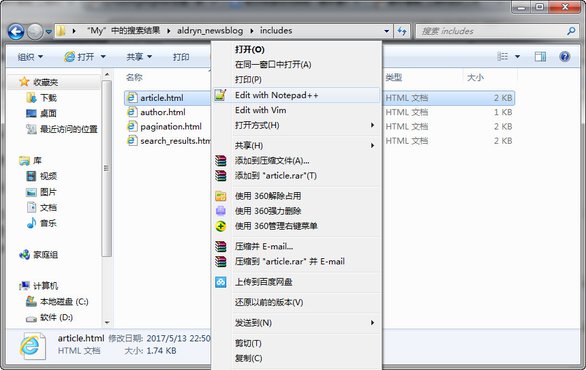
Open the article.html file in the Clean Blog directory. Be careful, the directory is related to the way you install the Clean Blog templates. Take me as example, as I installed it by Anaconda, the directory of it is : C://Users/MyAnaconda2/Lib/site-packages/aldryn_newsblog/templates/aldryn_newsblog.
Replace the codes between
{% if not article.published %} unpublished{% endif %}">
and
{% if detail_view %}
with the codes we copied.
3. Test the effect
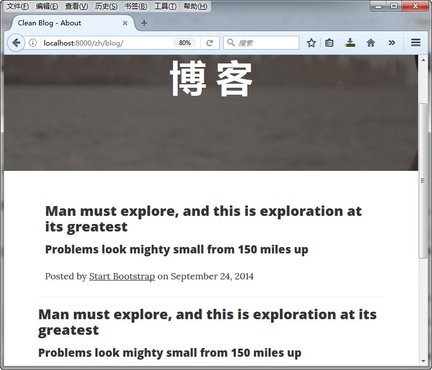
When we get into the website, the content added before in the blog page was replaced by the new content.
4. Change the settings
The following, we can show our article correctly by changing the tags in article html.
(1) Change the blog title
Find the codes below:
<h2 class="post-title">
    Man must explore, and this is exploration at its greatest
</h2>
<h3 class="post-subtitle">
    Problems look mighty small from 150 miles up
</h3>
Then transfer the codes above into those below:
	<h2 class="post-title">
    {% render_model article "title" %}
</h2>
{% if article.lead_in %}
<h3 class="post-subtitle">
    {% if not detail_view %}
        {% render_model article "lead_in" "" "" "truncatewords:'20'" %}
    {% else %}
        {% render_model article "lead_in" %}
    {% endif %}
</h3>
{% endif %}
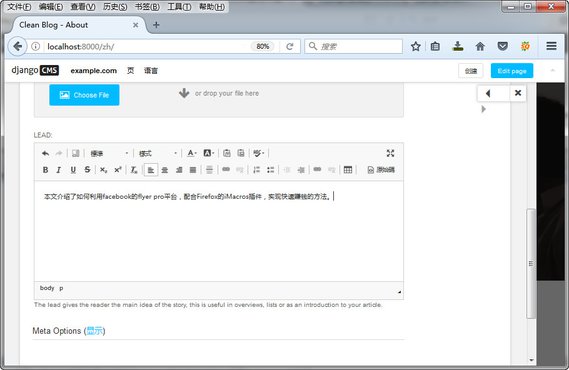
Note: Lead
Lead is the summary or abstract of article. In the article list, double click on the article title, you can add the article lead in the pop-up window.
Reminder:
The truncatewords simply works for English. If you want to show the abstraction of mandarin article, you can find the answer in this artile: django 自定义截取中文的过滤器
(2) Adjust the link
Use the codes below:
<div class="post-preview">
    <a href="{% namespace_url 'article-detail' article.slug namespace=namespace default='' %}">
Instead the codes in original.
<div class="post-preview">
    <a href="post.html">
Notes: Django URLs
'article-detail' aricle.slug is used to the link to article page. Besides, you could get more information about the use of Namespace here: http://docs.django-cms.org/en/latest/how_to/apphooks.html#attaching-an-application-multiple-times.
meta message
Use:
Posted by
   {% include "aldryn_newsblog/includes/author.html" with author=article.author %}
   on {{ article.publishing_date|date }}
Rather than the original:
<p class="post-meta">Posted by <a href="#">Start Bootstrap</a> on September 24, 2014</p>
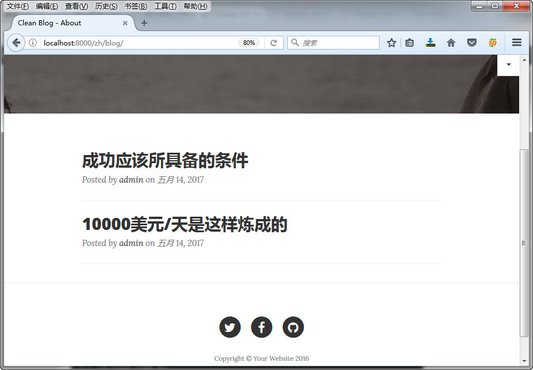
Now we can see the effect:
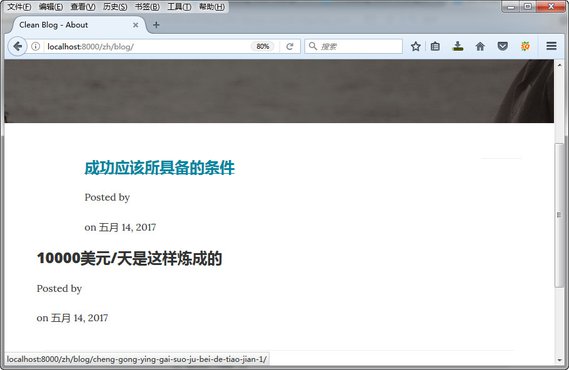
We can see that the content after Posted by couldn't show up. It is because the compatibility between Aldryn News & Blog and Django CMS. As publish article with admin, the default author of Aldryn News & Blog is "1". However the name of "1" is missing, and the autthor name is supposed to show after Post by. Thus, we solely set the name of "1", then the name would show properly.
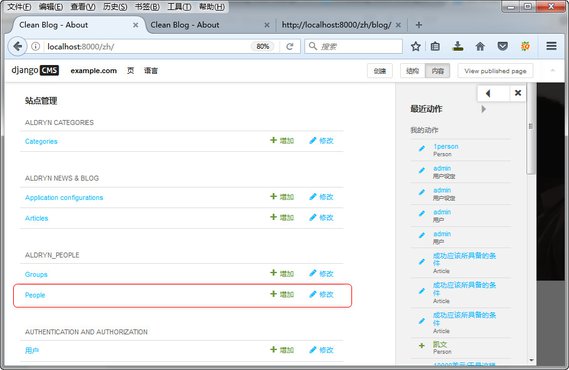
In the website management, under ---Aldryn_People---People, click to edit.
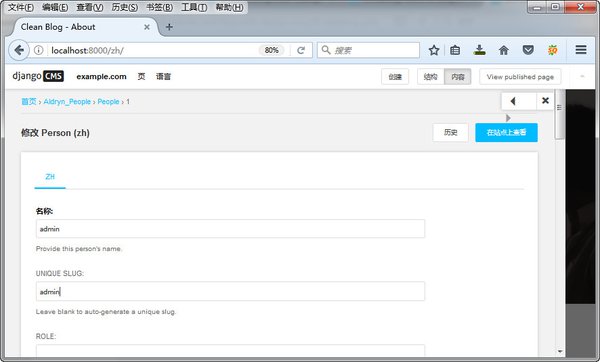
Reset the default name of People.
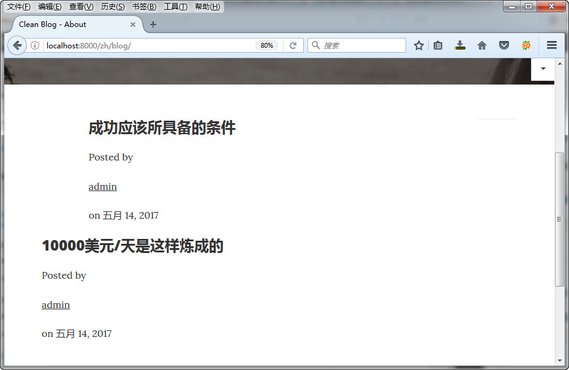
Now, we can the name of the author.
Set the author message
Open the author.html in the directory templates/aldryn_newsblog/includes, and use the codes below:
	{% load i18n staticfiles thumbnail apphooks_config_tags %}

{% if author %}
    <a href="{% namespace_url "article-list-by-author" author.slug namespace=namespace default='' %}">
        {{ author.name }}
    </a>
{% endif %}
To replace the codes following
{% load i18n staticfiles thumbnail apphooks_config_tags %}

{% if author %}
    <p>

        <a href="{% namespace_url "article-list-by-author" author.slug namespace=namespace default='' %}">

            {% if author.visual %}
                {% thumbnail author.visual "50x50" crop upscale subject_location=author.visual.subject_location as author_image %}
                <img src="{{ author_image.url }}" width="50" height="50" alt="{{ author.name }}">
            {% endif %}
            {{ author.name }}
        </a>
    </p>
    {% if author.function %}<p>{{ author.function }}</p>{% endif %}
    {% if author.article_count %}<p>{{ author.article_count }}</p>{% endif %}
{% endif %}
Then see the result.
5. Add the paginator
Open the pagination.html in templates/aldryn_newsblog/includes/, and use the codes below:
{% load i18n %}

{% if is_paginated %}
    <ul class="pagination">
To replace the codes below
{% load i18n %}
{% if is_paginated %}
    <ul>
Nevertheless the effect of our change cannot be seen as we get to our page, because the article only require one page to show. If we have more articles, the you will see the pagination like this.

6. Set the content page of article
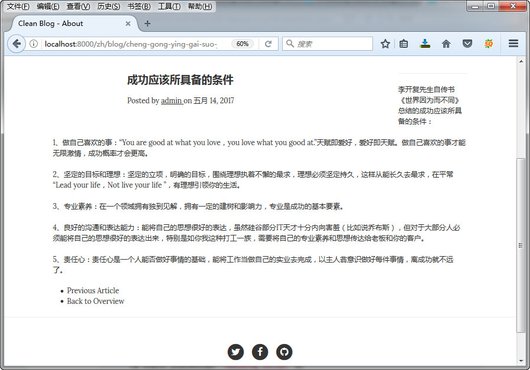
The single article page is inherited from article.html, so the only adjustment left is the navbar in the footer.
Let's see the orginal page before our adjustment.
Open the article_detail.html in templates/aldryn_newsblog/, and use the codes below:
{% block newsblog_content %}

    {% include "aldryn_newsblog/includes/article.html" with detail_view="true" %}

    {% static_placeholder "newsblog_social" %}

    <ul class="pager">
Replace the codes below:
{% block newsblog_content %}
    {% include "aldryn_newsblog/includes/article.html" with detail_view="true" %}

    {% static_placeholder "newsblog_social" %}

    <ul>
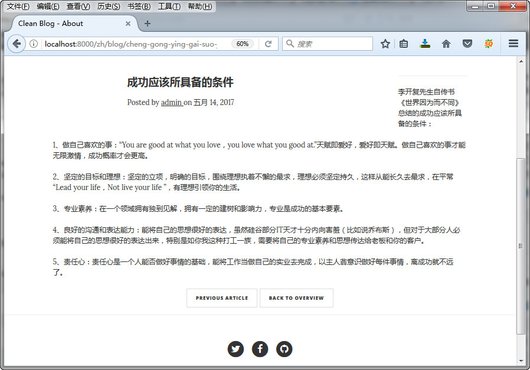
This is the result after our revision:
Next: Add Latest Articles Plugin
Previous: Create new article by News & Blog
Click here to download a PDF copy of this article
Save it to read later, or share with a colleague
Comment
There is no comment, you can make the first one!